![]()


Funded by Velux Stiftung, project 1350
![]()
Quick-start guide
This quick guide walks you through all steps required to set up Ignis, load a test scene, render images, and evaluate glare metrics.
Step 1: Download and install
We provide Windows binaries on our download page. You can either download and run the .msi installer, or download the .zip and extract its contents to a location of your choice.
Step 2: Run
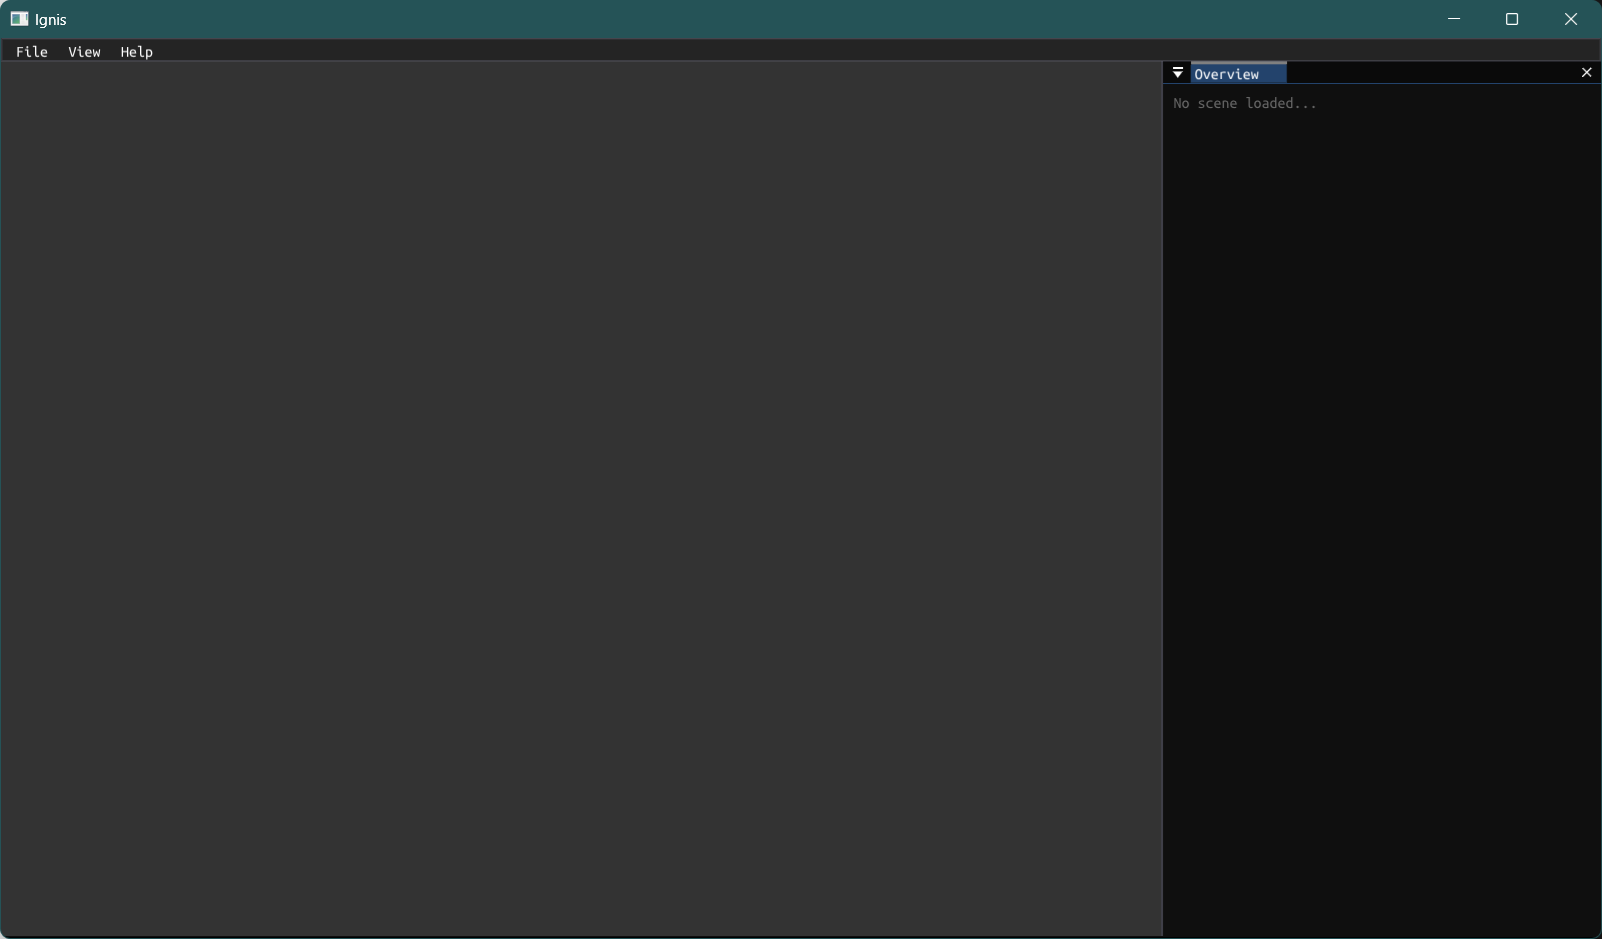
Ignis offers a range of binaries for different purposes. For us, igexplorer.exe is the most interesting. Its default install location is C:\Program Files\Ignis\bin\igexplorer.exe. After running it, you should see the following window:
Step 3: Load a scene
Let’s load a scene for simulation. You can do that with the File > Open menu in the top left corner.
Ignis comes with a simple test scene, by default in C:\Program Files\Ignis\scenes\diamond_scene.json.
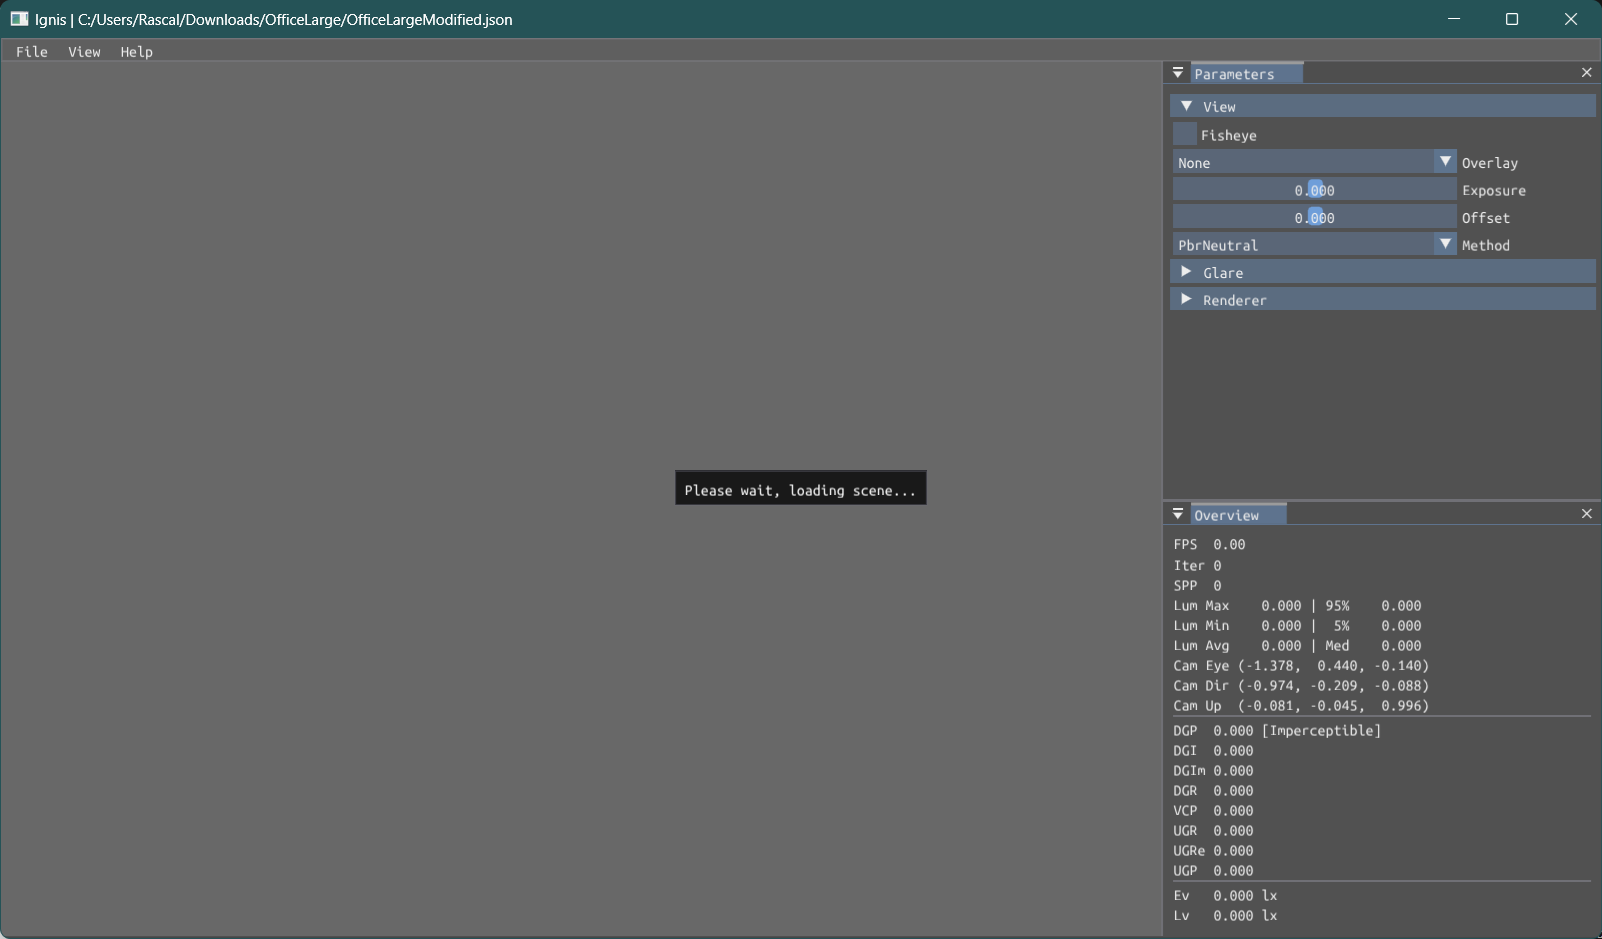
Scene loading can take some time for complex scenes, due to on-the-fly performance optimizations that are performed while the scene is loading. During that time, the following screen is shown:
Step 4: Evaluate glare
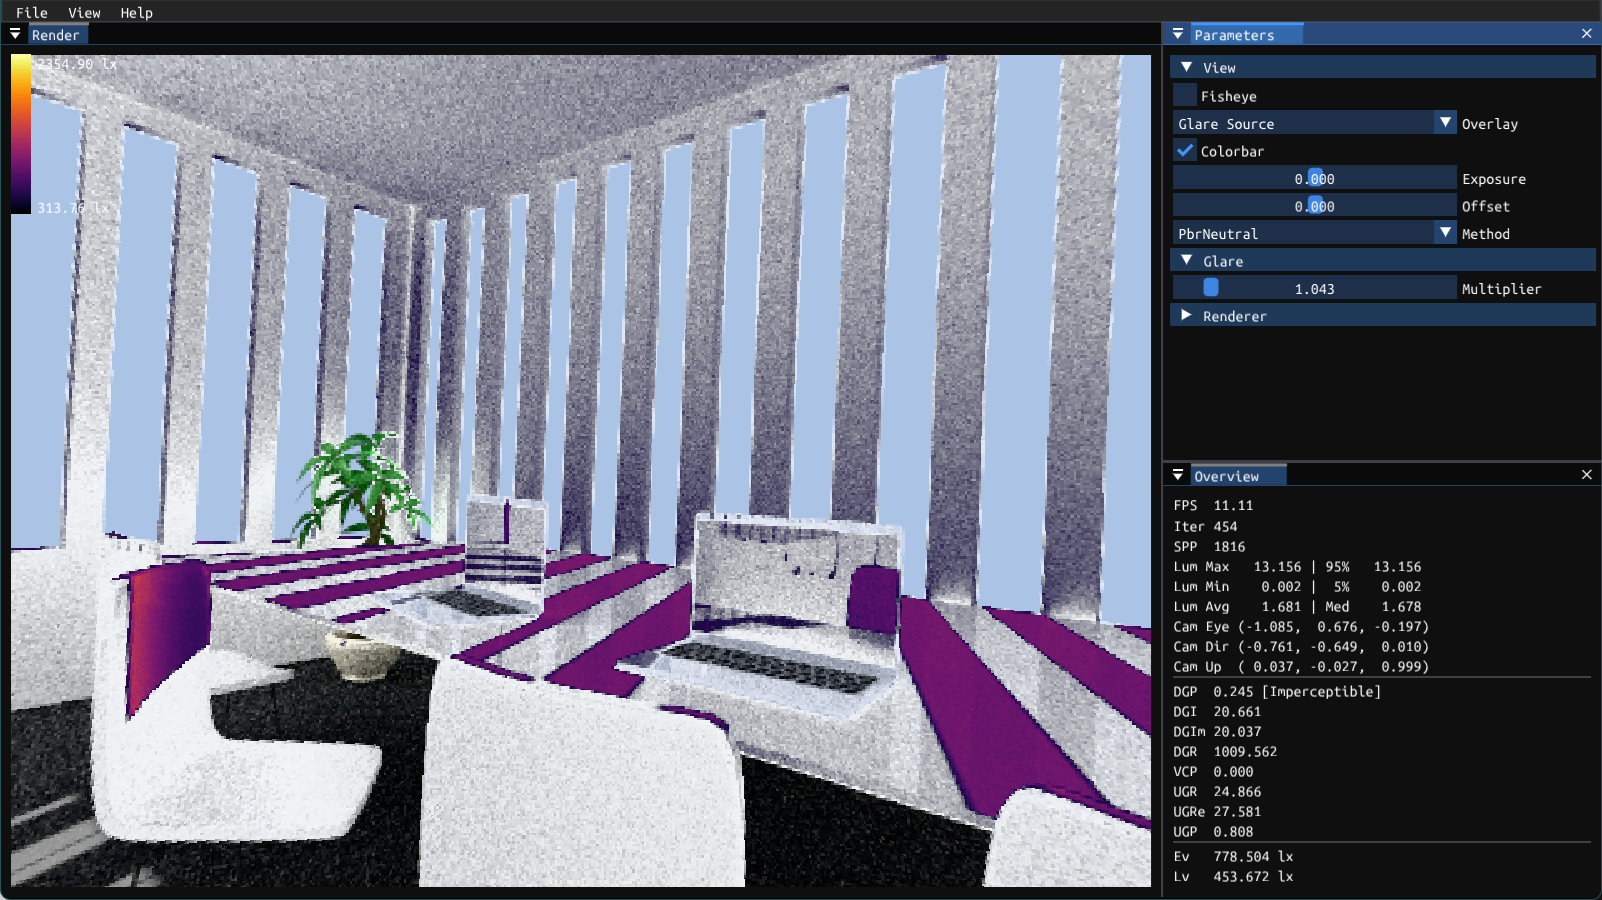
After the scene was loaded, the interactive rendering view is displayed, as shown below:
Here, a number of interactions are possible. The camera can be rotated by clicking and dragging with the mouse. Moving is possible with either WASD or the arrow keys.
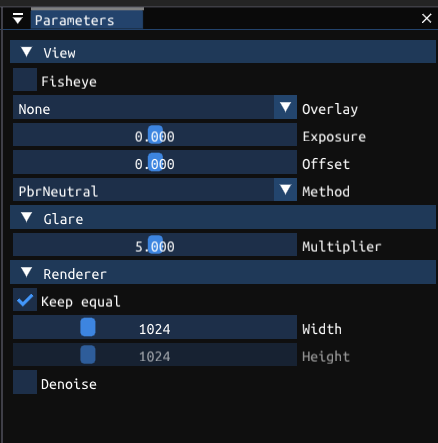
Internally, Ignis renders a fisheye view of the scene. This view is reprojected to a perspective one to ease navigation. The parameters panel on the right can be used to switch these views:
There, we can also choose an “Overlay”, e.g., a false-color visualization of glare sources.
The resolution sliders under “Renderer” control the resolution of the internal fisheye view rendering. To obtain the raw data from this rendering, you can use the menu entry File > Export image to save the current state as a HDR image in .exr format.
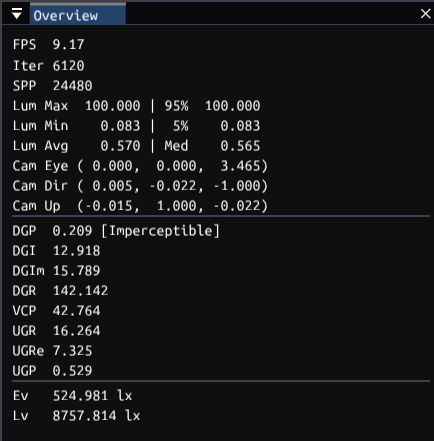
Below the parameters panel, the overview panel offers a set of statistics pertaining to the current view.
Optional: Load your own scene
Ignis uses a json-based custom scene format. One way to set up your own scene is to manually specify the 3D models to load (.obj or .ply format), the BSDFs, and the light sources.
But there are other ways to create a scene for Ignis:
Blender
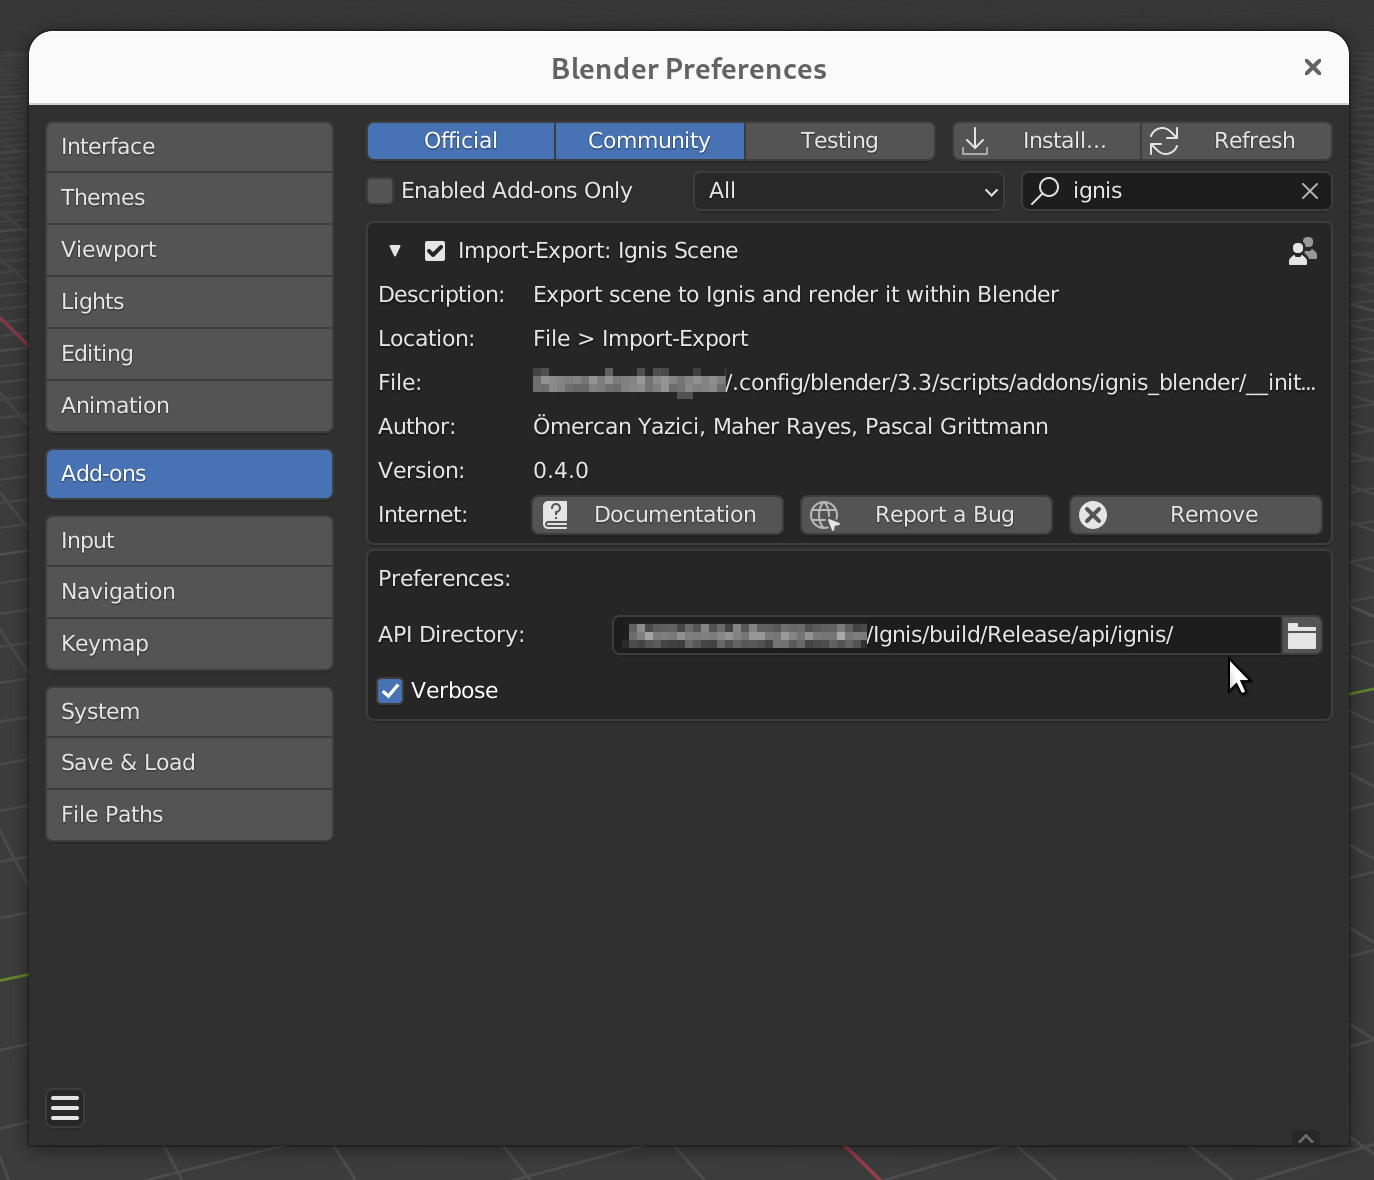
Ignis has a plugin for the open source content-creation software Blender available. Have a look at the official documentation to start using it.
Radiance
The python script rad2json allows basic .rad files from Radiance to be converted to Ignis. However, keep in mind that not all features are supported yet. In particular patterns and modifiers are still experimental. Nevertheless, it is a good starting point to convert a Radiance based scene into Ignis as all common mesh types are already supported.
The script is located here in the official repository.